Royal Horticultural Society London Hall – Renovation and Restoration

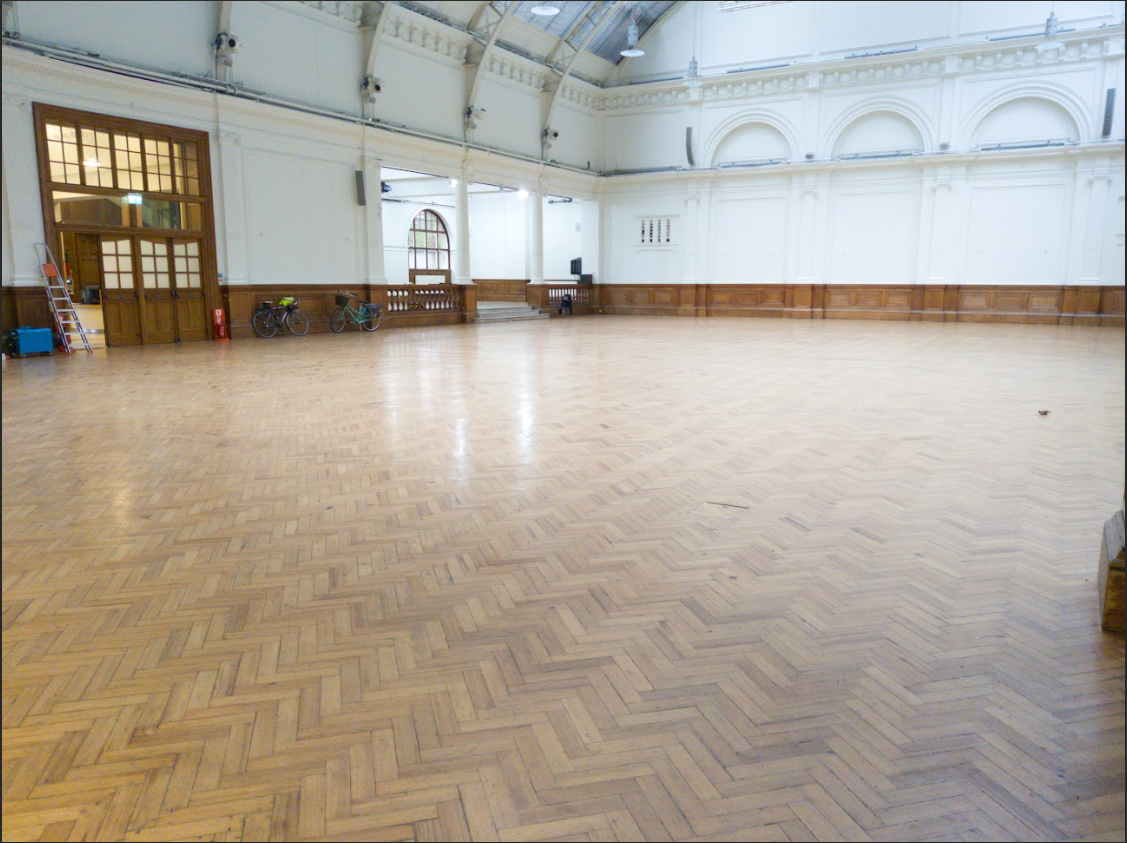
We were commissioned to carefully remove this antique pitch pine parquet floor and replace it with
a stronger, more suitable and contemporary parquet floor. We worked to remove the floor row by
row, minimising damage as much as possible. This floor has been extensively sanded in the past, to
such an extent that the dowels holding it together were becoming visible. This was unsuitable and
undesirable to our client, and so necessitated its removal. However, much of the floor was still in
decent condition and could be re-used for repairs and smaller rooms elsewhere in the building.
 We estimated that the flooring was well over a century old, and very in keeping with the aesthetic of
our client’s building. Bearing all this in mind, we got to work! Crowbars and elbow grease were
employed liberally to pull the antique parquet floor up, sorting antique pieces worth keeping and
those not, into different storage bins. By the end of the job, we had over twenty bins of usable pieces
left!
Barfords

The Parquet Flooring Restoration Process
With the floor pulled up, we were faced with an issue. Our initial expectations for the job had been 
that we would find some manner of wooden subfloor underneath, given that the annexe we were 
working in was an elevated area. To our surprise, the subfloor was solid concrete. We couldn’t simply 
put a new floor of parquet down on top of it, it would have proven extremely difficult and uneven. A 
subfloor needed to be applied to give our new parquet pieces something sturdy to adhere to. We 
opted for thin ply boards, which we screwed carefully into the subfloor. We used a detector to 
ensure that we weren’t at risk of puncturing any old pipes or wiring. This made securing the subfloor 
difficult, as the screws must be applied evenly to keep the subfloor level. If one area has more screws 
than another, the wood could split or buckle in the years to come. With this done, we set up our 
centre line using a laser.
Parquet floors are very easy to get wrong. The human eye picks up on patterns readily, and any 
breaks in the pattern are easily noticeable. For a parquet floor, this must be kept in mind and the 
pattern must be even and consistent all the way through. The centreline is aesthetically pleasing and 
helps ensure that the floor flows through the room easily. In older buildings, or those with irregular 
walls, you cannot always guarantee that the pieces will consistently meet the wall or border, but a 
strong centreline goes a long way in helping this. 
 
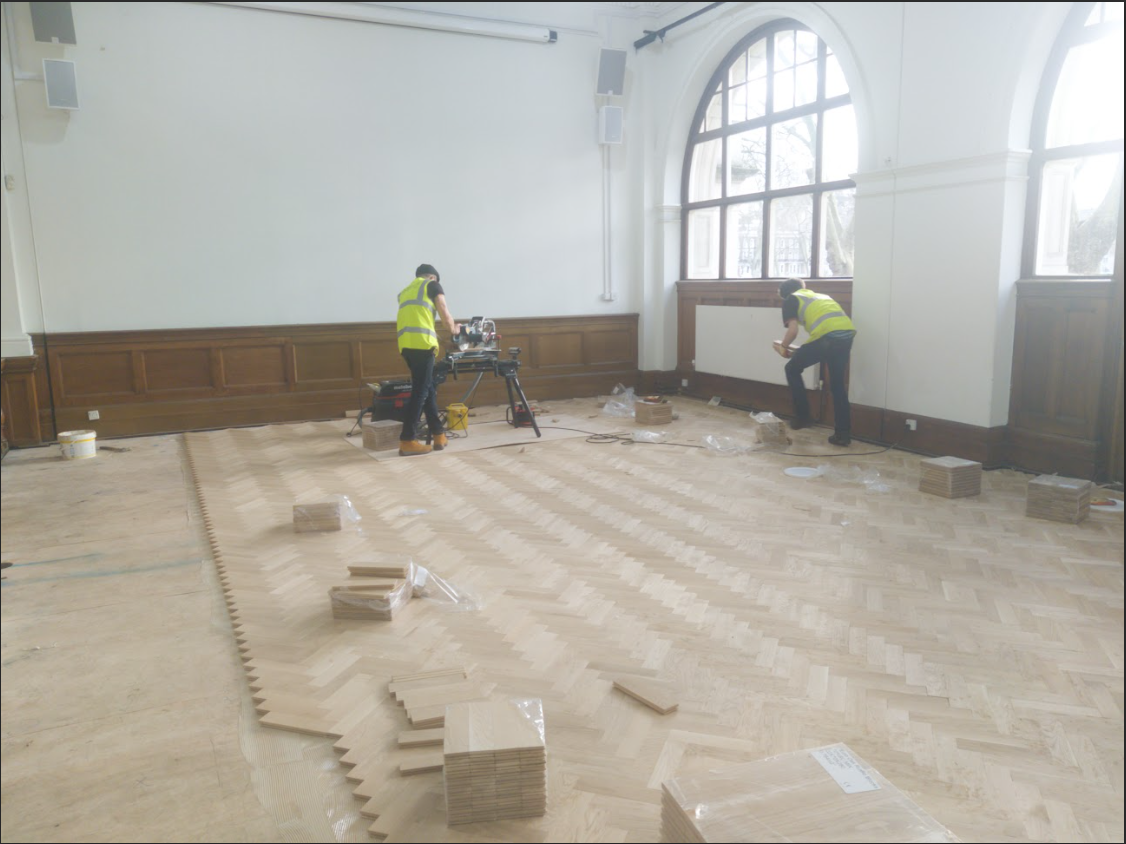
Laying the parquet is both simple, complex and incredibly cathartic. You cannot rush ahead, as the 
adhesive needs time to dry. Tapping a block into place too hard can push previous blocks out of 
alignment and risk throwing the pattern off. You must work slowly and methodically, giving previous 
rows time to dry and weighing them down with weights. At the same time, pushing blocks into place 
is very gratifying. Overall, this process took three days! We cut a double border about the edge of the 
room, using our track saw to provide a solid frame. 
barford

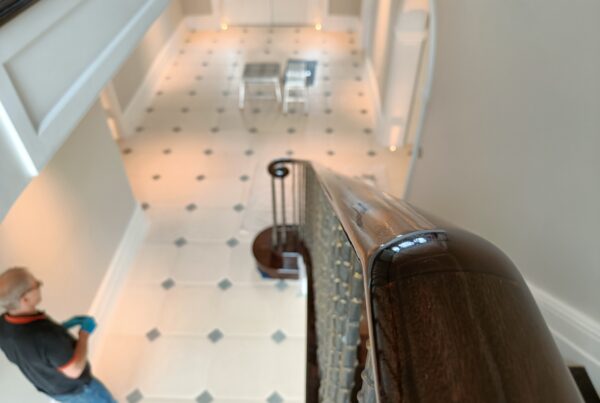
Once the stain had dried, we commenced with the polishing. French Polishing is a very delicate process, requiring multiple applications to achieve the desired finish. In the end, we applied 9 coats of shellac polish to reach the clients satisfaction! Each coat of polish is very thin and builds upon previous coats to add depth and richness to the staircase.  Although, for us, most important of all, is that French Polish will start to dry almost immediately! Each coat must be precisely applied for maximum effect, as there’s no room for error. Should your hand start to stray, you don’t have time to touch it up after or you risk tearing the finish. Long, continuous strokes are needed to apply the polish correctly, as it dries so fast that a careful eye can tell in which direction (and even how) the polish was applied.

In total, we coated up 20 steps, door thresholds and several handrails throughout the house, but you have to remember that each was carefully coated 9 separate times! 180 individual applications of French Polish, but we think you’ll agree that the end result was well worth it.

French polishing gives a superb finish and is extremely adaptable. It gives the highest quality finish that improves in time like a vintage wine. As well to fine homes, we have also been commissioned on private jets, luxury boats, banks, embassies and hotels.
 

We were also asked to cut holes for electrical access at two points on the floor. We took the plugs 
and marked them using a pencil, using their dimensions to give us a framework along which to 
carefully cut. This cut wood was then re-used, a millimetre trimmed off each edge and used to fill in 
the hollow lid of the boxes. In this way, when the plugs were not in use, the lid could be placed over 
it and allow the parquet pattern to seamlessly continue. 
 
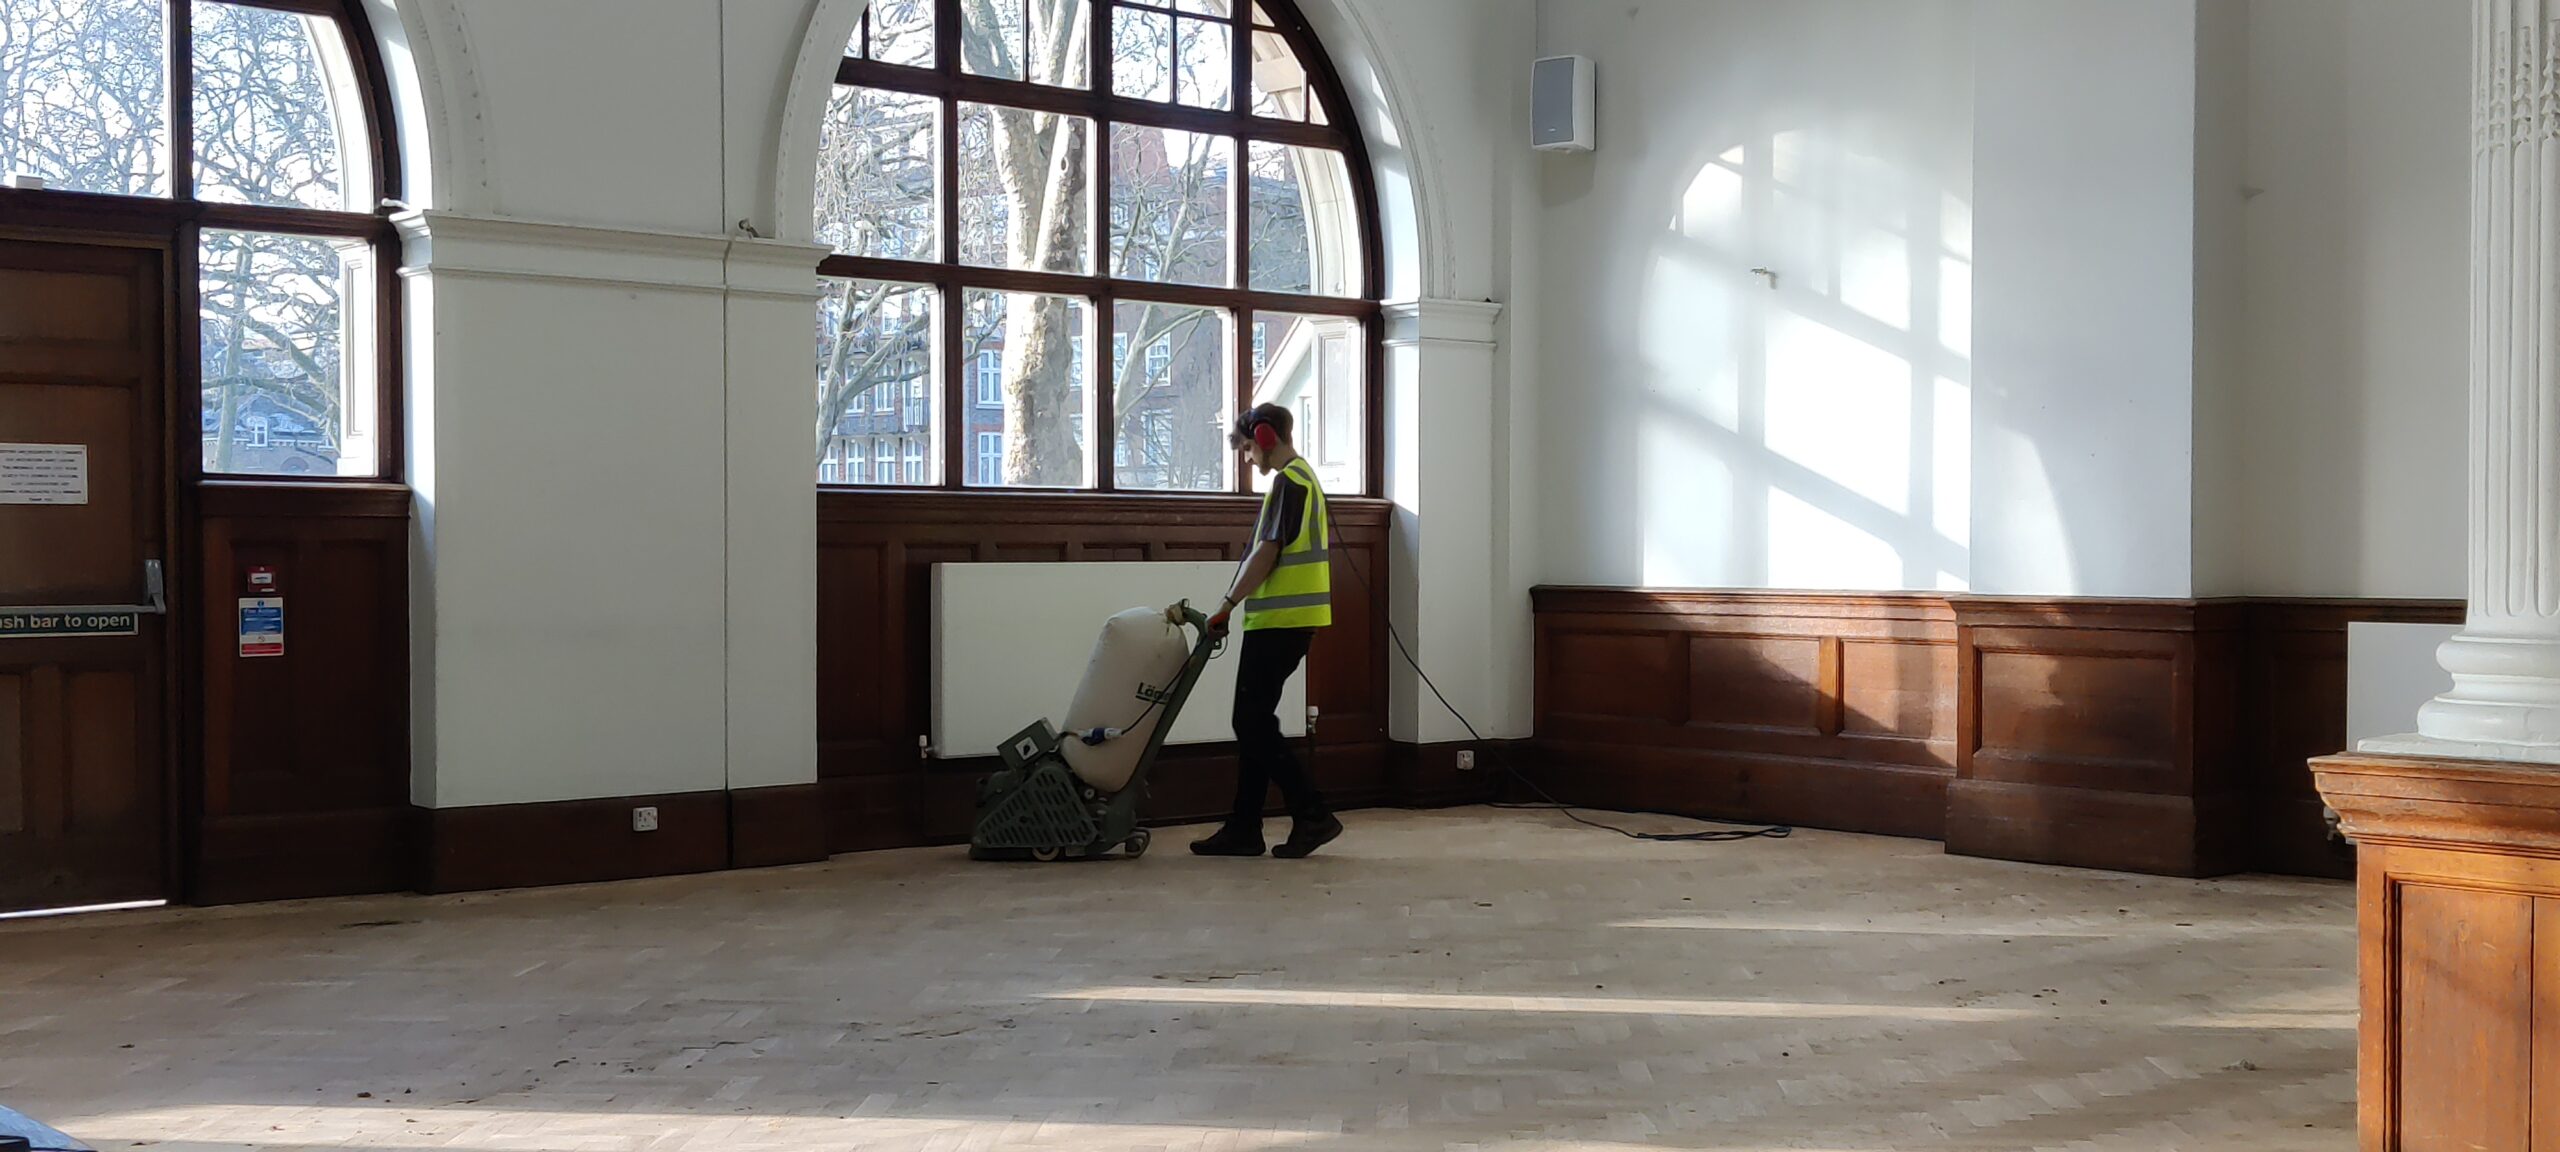
After this, we began to sand the floor using our virtually dust-free equipment and methods. For such 
a large space, it took a great amount of time. As with all parquet and herringbone floors, we sanded 
the floor twice with each grit, at 90-degree angles to follow the differing grain. When all was said and done, this floor had ten passes from our dust-free sander! 
 
At this point, we addressed our client’s queries about colours and stains. To match the original as 
closely as possible, we created a bespoke natural water stain and applied it to the freshly sanded 
floor. Since the grain was unsealed, the stain bit in well and was allowed to rest before we applied a 
sealing coat of primer atop, followed by two coats of matte waterbased lacquer. This was allowed to 
dry, and then we were done! 
barfords